The French manicure is one of the most iconic and enduring nail styles in beauty history. It has graced red carpets, weddings, and boardrooms for decades. But despite its name, the French manicure did not actually originate in France. It was invented in 1976 by Jeff Pink, the founder of Orly, for Hollywood actresses who needed a nail look that worked with multiple costume changes. The idea was simple: a sheer pink base with crisp white tips that looked natural, elegant, and polished.
That simple concept became a global phenomenon. Today, the French manicure has evolved into countless variations, but the classic remains as popular as ever.
What Is a French Manicure?
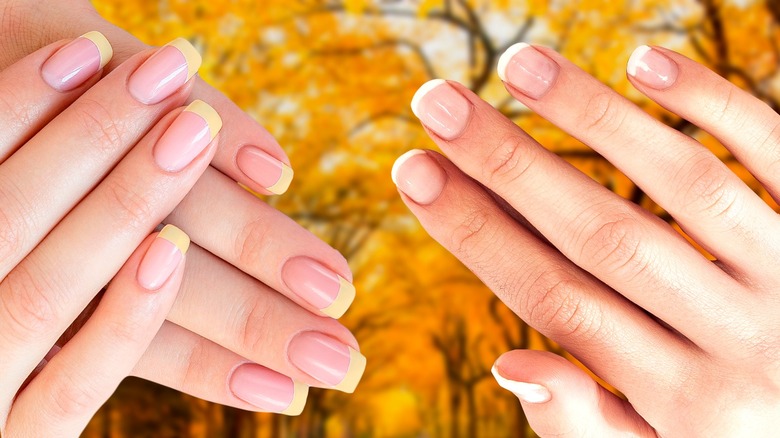
At its most basic, a French manicure features a translucent nude or pale pink base with a bold white tip. The tip follows the natural curve of the smile line—the point where the nail separates from the nail bed. The contrast between the sheer base and the opaque tip creates a clean, elongated look that makes fingers appear longer and more slender.
The French manicure is versatile. It works for any occasion, from job interviews to beach vacations, and complements any outfit. It is also universally flattering—the sheer base allows the natural nail to show through, creating a “my nails but better” effect.
Essential Tools for a French Manicure
A flawless French manicure requires precision and the right tools:
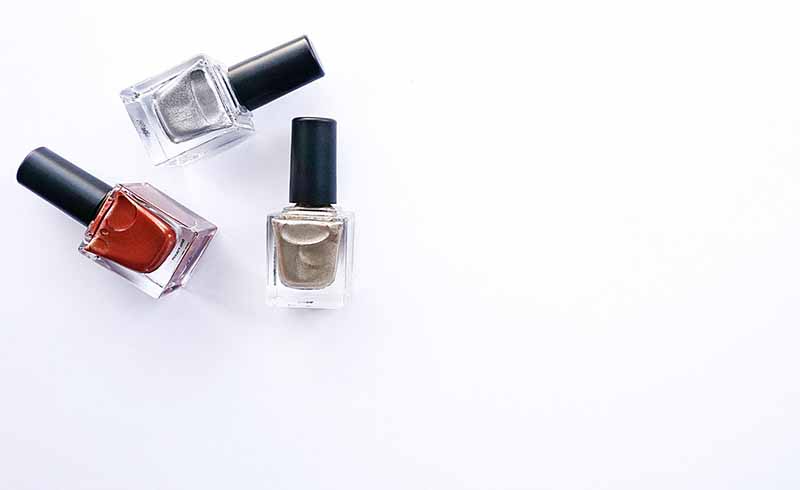
Base coat. A sheer nude or pale pink polish. The base should be translucent enough to let your natural nail show through, providing a “your nails but better” effect.
White tip polish. For the classic white tips. Choose a polish that is opaque and easy to control, with a smooth consistency and fine brush for clean lines.
Top coat. Seals the design, adds shine, and dramatically extends wear.
French tip guides (optional). Curved stickers that help create a perfect smile line. They come in various curves to match different nail shapes.
Cleanup brush. An angled brush dipped in remover is your best friend for perfecting edges and cleaning up mistakes.
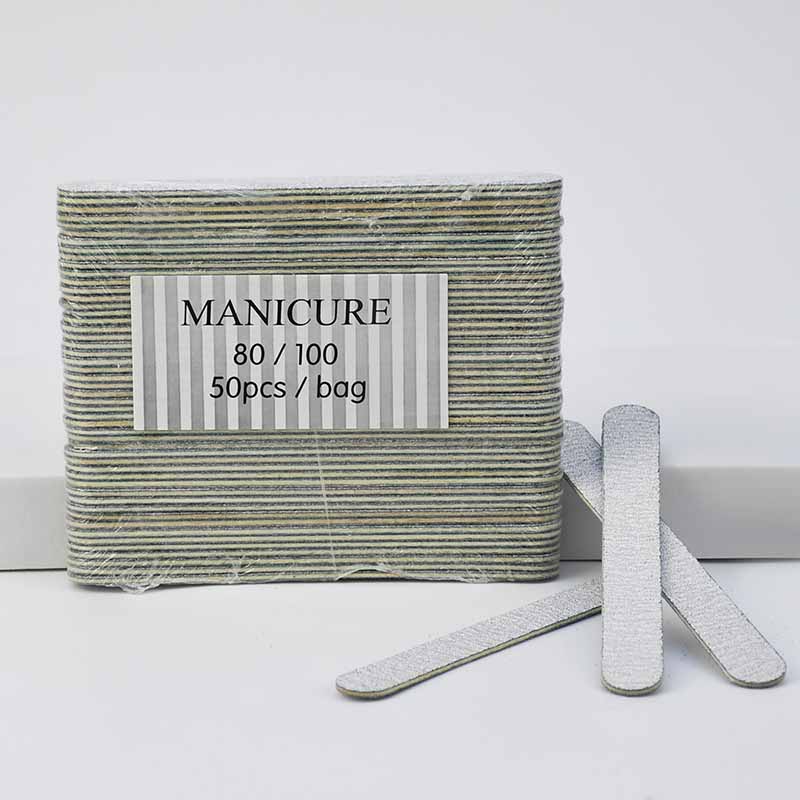
Nail file and buffer. For shaping nails and smoothing the surface.
Cuticle pusher. For prepping the nail bed.
Cotton pads and nail polish remover. For cleaning up mistakes and removing previous polish.
Nail dehydrator. Optional but helpful for removing oils from the nail surface before application.
Fine liner brush. For freehand application if you prefer not to use guides.
Practice stick (optional). Useful for practising the freehand smile line before committing to your nail.
Step-by-Step French Manicure Guide
Step 1: Prep your nails thoroughly. Start with clean, dry nails. Shape your nails to your desired length—oval, almond, or squoval shapes work best for French styles. Gently push back cuticles. Lightly buff the nail surface to remove shine and create a smooth canvas. Wipe each nail with rubbing alcohol to remove all oils and residue. After this step, do not touch your nails.
Step 2: Apply base coat. Apply a thin, even layer of your chosen sheer nude or pale pink polish. This is the foundation of the French manicure. Apply two thin coats if needed, allowing each coat to dry completely. The base should be even but translucent. You should still see your natural nail through it.
Step 3: Create the smile line. This is the defining step of a French manicure. You have two options: use French tip guides for a crisp, consistent line, or paint freehand for a more natural look.
If using guides, place them just below your natural smile line, leaving the tip exposed. Press firmly to seal edges so polish does not leak underneath. Apply one thin coat of white polish to the exposed tip. Remove the guide while the polish is still wet to prevent it from peeling the edge. If freehand painting, use a fine liner brush to draw a thin line along the tip, then fill in the rest of the tip area. The line should follow the natural curve of your nail bed. The key is a clean, even line. If you make a mistake, clean it up immediately with a small brush dipped in remover.
Step 4: Seal with top coat. Apply a generous layer of high-gloss top coat to protect the design, add shine, and extend wear. Cap the free edge—run the brush along the nail tip—to prevent chipping.
Step 5: Hydrate. Apply cuticle oil to keep the skin flexible and the manicure fresh.
Modern Variations on the Classic French
The classic French manicure has inspired countless modern interpretations.
Micro French. An ultra-thin tip, barely visible from a distance, creating a subtle, sophisticated look that works well on shorter nails and is perfect for minimalists.
Coloured French. Replacing the white tip with any colour—pastels for spring, neon for summer, metallic for evening. The result is playful, modern, and endlessly customizable.
Baby Boomer. A soft gradient from the tip to the base, blending the white into the pink. This creates a modern, sophisticated look that is less stark than the classic French and grows out more gracefully.
Reverse French. Instead of colour at the tip, the colour is applied at the cuticle line (moon manicure). This creates a striking, contemporary look and draws attention to the base of the nail.
Double French. Two parallel lines of colour at the tip—two shades of white, or white and a metallic accent. This adds subtle detail and visual interest without being overwhelming.
Geometric French. Replacing the curved smile line with sharp angles, V-shapes, or chevron patterns for an edgy, modern twist.
Matte French. A matte top coat over the entire nail or just the tips. This creates an understated, velvety finish that stands out from glossy manicures.
Common Mistakes to Avoid
Skipping base coat. Base coat prevents staining and helps the polish adhere. Without it, your French manicure will chip faster and the white tips may yellow over time.
Using guides incorrectly. Placing guides too far down the nail creates an unbalanced look. The guide should follow the natural curve of your smile line, not create a new one.
Applying tips too thickly. A thick white tip looks bulky and artificial. One thin coat is better than two thick coats.
Using stark white for the base. The base should be sheer and natural-looking, not opaque white. Your natural nail should show through for the best effect.
Forgetting to cap the free edge. Sealing the tip with every layer prevents chipping and extends wear significantly.
Rushing the process. A French manicure takes patience. Rushing leads to smudging, uneven lines, and messy edges. Allow each layer to dry completely before moving to the next.
The Bottom Line
The French manicure has stood the test of time because it is elegant, versatile, and universally flattering. Whether you prefer the classic white tip or one of its modern variations, the French manicure remains a timeless choice for any occasion. With the right tools, practice, and patience, you can achieve a salon-quality French manicure at home.